Jupyter notebook is traditional IDE for Python. It is a very popular IDE for most of data professionals as its very easy to install and use.
Jupyter notebook basically includes 2 components – jupyter notebook Server and a Browser. Browser communicates to server and process the requests.Browser usually uses a default localhost:8888 to connect to jupyter server.
Now, let us look at Anaconda, a package manager which allows to install many libraries. When install Anaconda, Python and Jupyter comes along with the installation. To install Anaconda, go to https://anaconda.org (for individual -> https://www.anaconda.com/products/individual#windows) and download the latest file which is compatible to the workstation (depending on windows or Mac).
To launch jupyter, launch Anaconda navigator and then select jupyter, which would eventually open a browser where programmers can write and
run the codes.
Writing First Program in Jupyter notebook
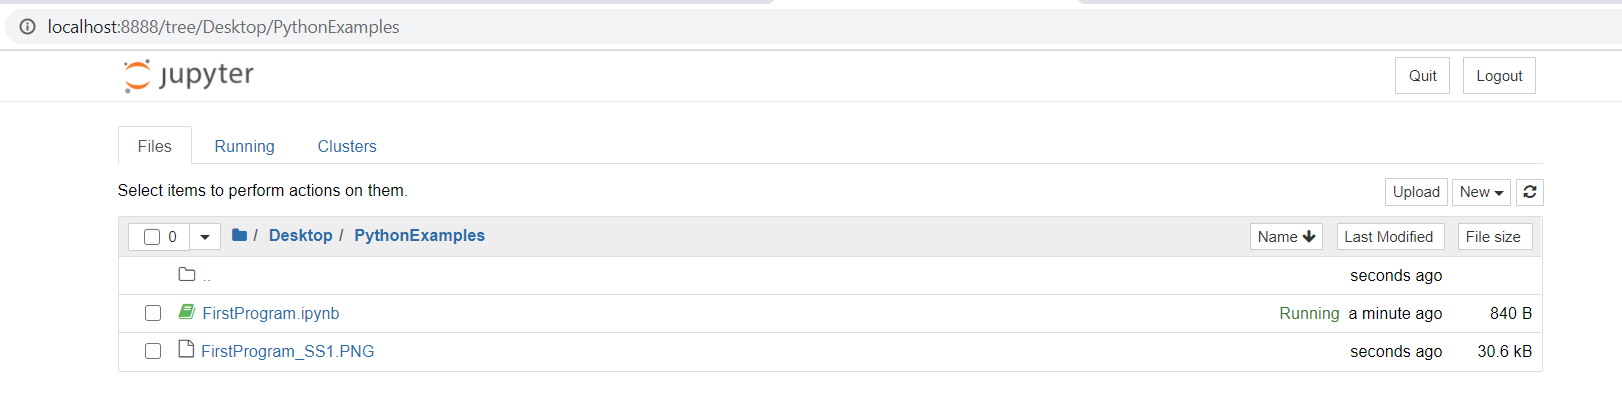
1. Create a folder in Desktop to put save our sample work
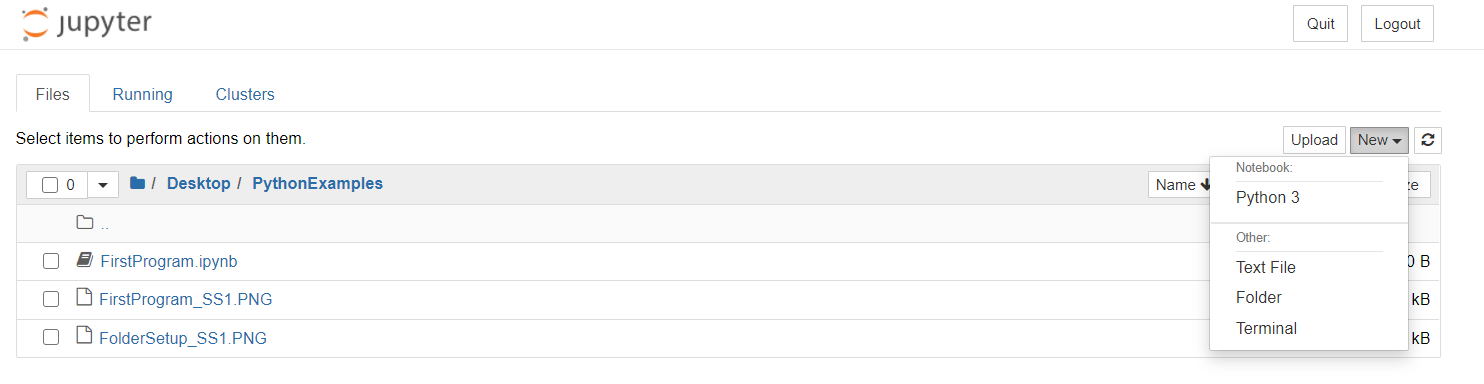
2. Create python file by clicking New Python 3(in the screenshot)
3. It will open a code blocker where you can write programs

I am a beginner to Python and am writing these posts as I learn things for two main reasons, not to forget and to share with community. I would like to share your thoughts and experiences in comment section, so we all will be part of learning and sharing!
I’d like to grow my readership. If you enjoyed this blog post, please share it with your friends!

One thought on “A glance at Anaconda, Jupyter notebook and Python for beginners”